


It will be my first project where I used embossing technique. I was introduce to this topic many years ago and never tried. Why?! oh why I was waiting for so long to try?!! OK – this afternoon I decided to try to mix my favourite watercolour technique with the new one (new for me) – hot embossing. I prepared a step by step tutorial how I was working with these media. I had so much fun! Let’s start…

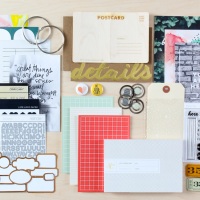
First of all I create a simple base of the project using new Studio Calico lines: ‚Lemon Lush‚ and ‚Wanderlust‚ (if you can’t find them in the shop, be sure to click a ‚notify me‚ button to be sure, that you will be inform when they will be in stock).

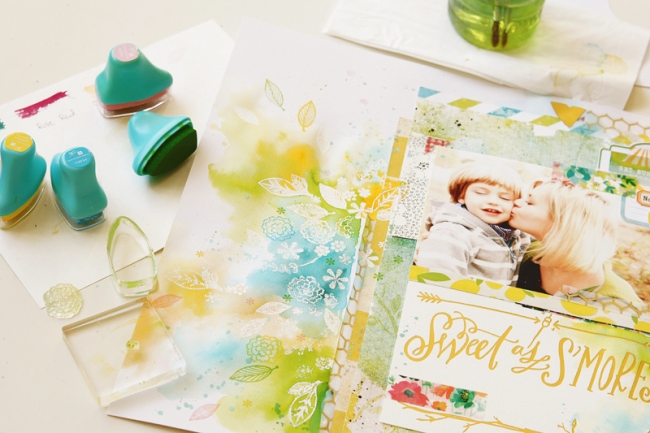
I collected some acrylic stamps which are coming from the older Studio Calico kits, clear embossing ink pad, white ZING embossing powder, Peerless Watercolour Papers , Ecolines and other ‚must have’ supplies.
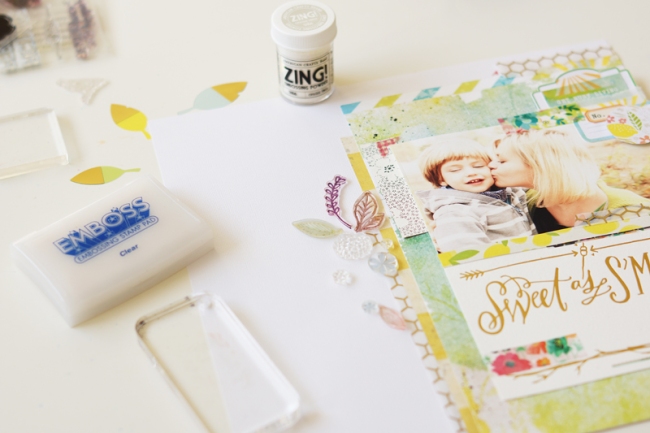
I combined a half of the layout and the second part will be the topic of my today’s tutorial. I chose a few stamps in floral and flower shapes and created a simple composition with them – just next to the edge of the layered papers
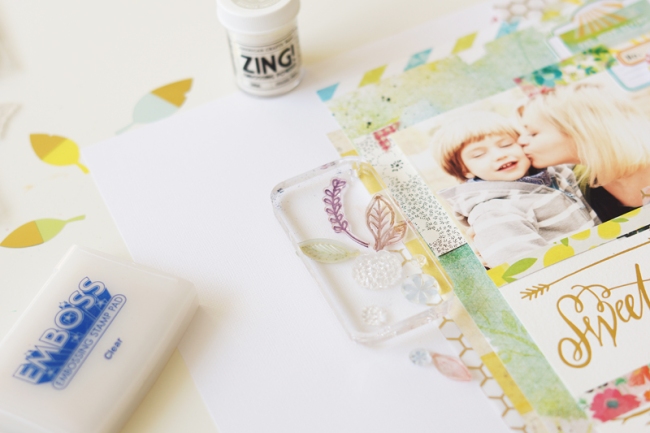
I sticked them to the small acrylic block and than I stamped them using clear embossing ink (it was not very easy to find the shapes becasue they were really invisible).

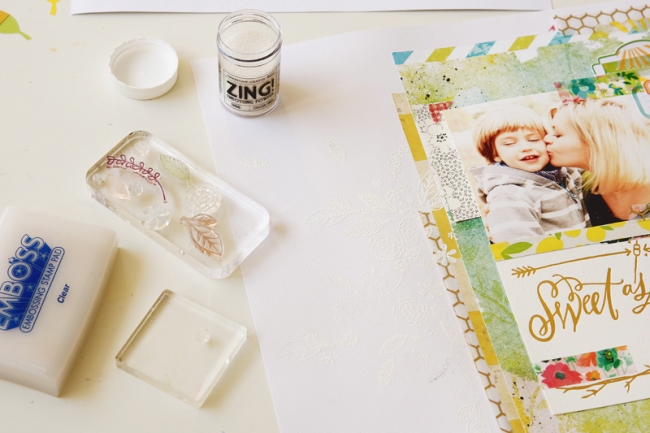
Then I covered these invisible stamped shapes with a white embossing powder…

Next I took out the excess of the powder (I put it back to the jar)…

And I got such result (I hope it’s visible enough on the picture)…

I used a heat gun to make the marks pemanent and waterproof (yes, I know that all of you already know how to emboss, but there are some people like me who don;t know a lot about this technique) 🙂
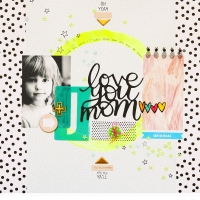
I added more stamps, more leaves and flowers and repeated the pattern. It was the end of embossed part 🙂 I had a lot fun making this! and I’m sure I will use it once again and again in my other projects!

Now – the funny part – watercolouring! I was showing and writting step by step instructions about how to use watercolour many times – so this time I will leave these pictures without any comment. If you have any questions you can ask me in the comments below.

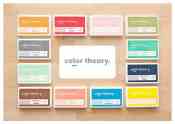
I used Peerless Wartercolours Transparent Papers and liquid inks – Ecolines. This time I mixed more colours than usually… You can find here green, blue, yellow, orange, pink… Yep, I made a kind of mess this time and I really love it! It’s so refreshing! 🙂
When paitnted part was completely dry I made some random floral stamps using various colours of chalk inks – just to add a kind of dimmension to this part. And it was the end of my work. Super fun, not super easy, but I’m sure that everybody can try to do something simmilar.

I hope you will find a while during the upcoming weekend to try this mixed-media technique. I hope you will enjoy playing with these fabulous things as much as I had.

If you want to see more close-ups please move to my gallery at Studio Calico >>> HERE.
+ + +
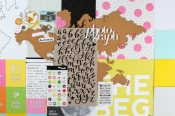
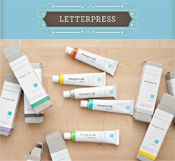
And my last news just before the end of this week. New supplies will appear in a few days in the Studio Calico shop. I’ve had an opportunity to work with some of them earlier… I prepared next step by step tutorial with these brand new
Lindsey Letter Letterpress Plate & Craft Die set :: Monogram Alpha
I won’t tell you now what it will be, but I just mention that you should be prepared for the shopping!!!

It’s just a sneak peek… don’t miss this up!
+ + +
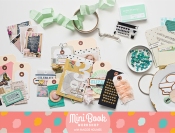
And now something for the whole season, great surprise from Studio Calico fo all mini-book lovers!!!

Little Books, BIG inspiration – times 4! Purchase the Mini Book Bundle for $32 – a 20% savings!
Purchasing the Mini Book Bundle enrolls you in all four of our 2014 Mini Workshops. A new mini workshop will be available each season from our expert line up of teachers – Nicole Reaves, Maggie Holmes, Marcy Penner and Céline Navarro. Each teacher will be showing you how to create a unique mini book through detailed PDFs and videos.
This bundle offer is available with early bird pricing from 1/24/2014 through 1/31/2014.
+ + +
Have an amazing weekend everybody!!! We will meet at reveal night! yay! kisses :)))
